
Install engineered flooring
How to Install Engineered Flooring: A Step-by-Step Guide
Engineered flooring is a top choice for many homeowners due to its durability, stability, and timeless aesthetic. Whether you’re looking to update your living room or renovate an entire floor, installing engineered flooring yourself can be a satisfying and cost-effective project. In this guide, we’ll walk you through the installation process, from preparing your space to finishing the final touches, to ensure a professional and polished result.
Before you begin, it’s crucial to gather all the necessary tools and materials to make the installation process smooth and efficient. You’ll need engineered flooring planks, underlay (if your flooring requires it), a tape measure, spacers, and a saw—either manual or electric will do. Additional items such as a hammer, tapping block, pry bar, pencil, square, adhesive (for the glue-down method), and a moisture barrier if you’re installing over concrete will also be essential. Having everything at your fingertips before starting will help streamline the process and reduce any interruptions.
A well-prepared subfloor is key to a successful installation. Start by thoroughly cleaning the area, sweeping or vacuuming to remove any dust, debris, or small particles that could interfere with the installation. Check the subfloor for any signs of moisture, especially if you’re working on a concrete surface—using a moisture barrier can be a smart precaution in this case. Additionally, ensure the subfloor is level; any gaps or uneven areas should be filled with a leveling compound to create a smooth base for your engineered flooring.
Engineered flooring needs to acclimate to the room’s temperature and humidity to avoid issues like expansion or contraction after installation. Lay the flooring planks flat in the room where they’ll be installed and allow them to sit for at least 48 hours. This step is critical as it ensures that the wood adjusts to the climate, reducing the chances of buckling or warping once installed.
If your engineered flooring requires an underlay, this step will help enhance comfort and insulation while protecting your flooring from potential moisture issues. Roll out the underlay across the entire subfloor, ensuring that it lies flat with no overlaps or gaps. Trim the edges neatly to fit the room’s dimensions using a utility knife. Once in place, secure the underlay with tape or adhesive to prevent it from shifting during the flooring installation.
Taking the time to plan the layout of your flooring will save you from headaches down the road. Measure the room’s width and length to calculate the number of planks you’ll need, making sure to factor in a staggered pattern for added stability. Staggering the seams by at least 15-20 centimetres will not only strengthen the floor but also create a more natural, visually appealing look. Starting in one corner of the room and working your way outwards will help maintain a clean, consistent alignment.
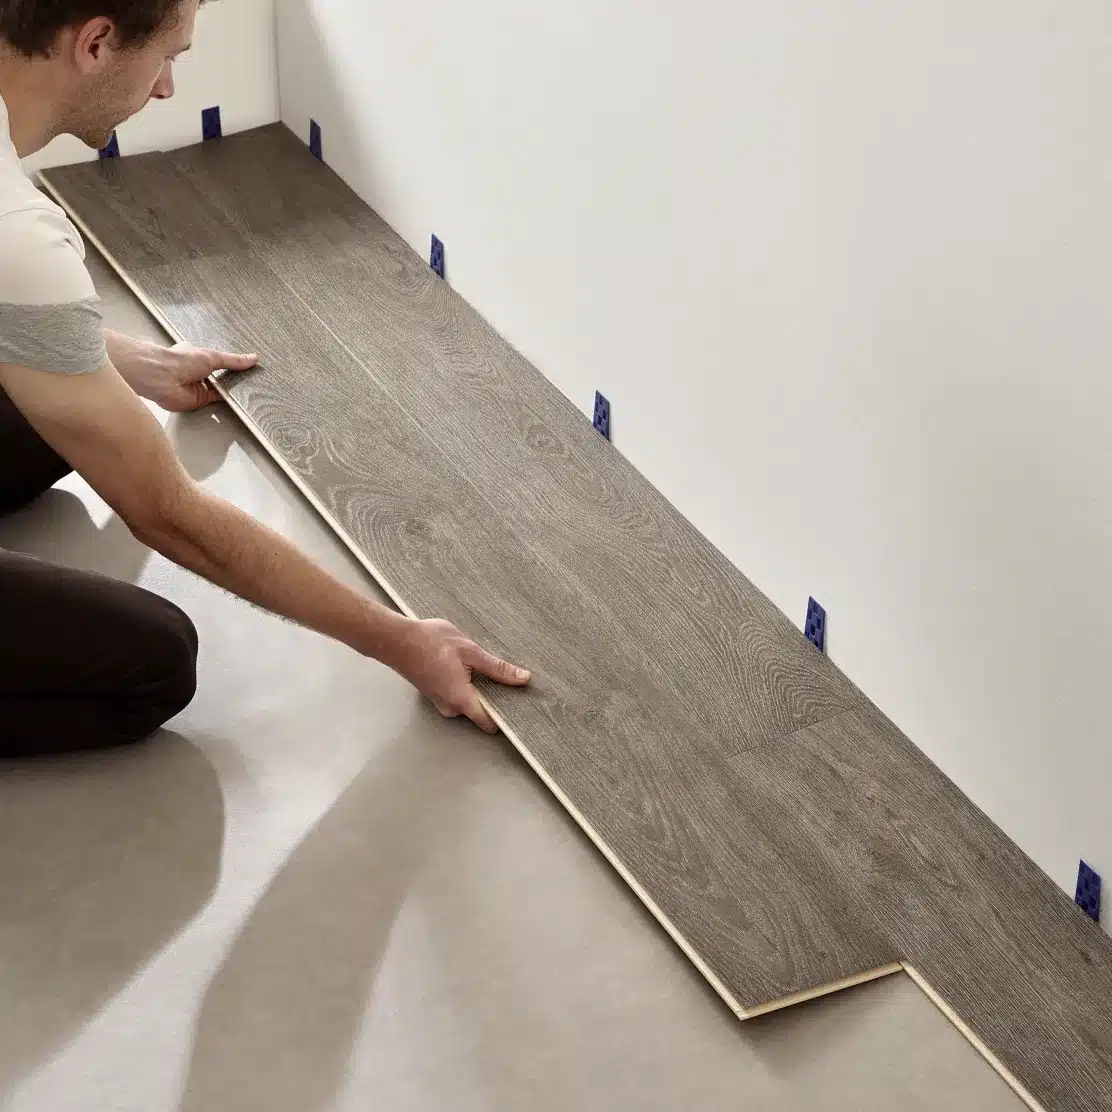
With your layout planned, you’re ready to start installing the engineered flooring. Begin in a corner with the groove side of the plank facing the wall. Insert spacers between the plank and the wall to create a small expansion gap, typically about 10-12 millimetres. This gap is essential as it allows the floor to expand and contract with changes in temperature. Click or lock each plank into place, using a tapping block and hammer to secure a tight fit. Ensure that each connection is firm to avoid gaps between planks.
Continue laying the flooring row by row, making sure that the seams of adjacent rows are staggered. This pattern will not only strengthen the floor but also give it a more natural appearance. As you reach the end of a row, you might need to cut the final plank to fit the remaining space. Measure the distance accurately, cut the plank to size, and fit it snugly into place to maintain a clean line.
The last row can be a bit tricky as it often requires cutting the planks lengthwise to fit. Measure the gap between the last full plank and the wall, making sure to include the expansion gap. Cut the planks to the correct width and carefully click them into place. A pry bar can be useful here to help position the planks securely without damaging the edges.
With all the flooring planks installed, it’s time to remove the spacers from the edges of the room. Reattach the skirting boards or add trim to cover the expansion gap, giving the room a polished, finished look. Finally, clean the floor thoroughly to remove any dust or debris from the installation process. This will ensure that your new floor looks as pristine as possible.
To ensure your engineered flooring sets correctly, let it settle for at least 24 to 48 hours before placing heavy furniture or rugs on it. This settling period allows the planks to adjust to their new environment, which helps secure their position and maintains the integrity of the installation.

Tips for a Flawless Finish
When installing engineered flooring, it’s crucial to leave a small expansion gap around the perimeter of the room. This gap allows the floor to naturally expand and contract with temperature fluctuations. Always use safety goggles and gloves when handling tools, especially when cutting planks to avoid injury. If you’re using the glue-down installation method, follow the adhesive manufacturer’s instructions carefully to avoid any mishaps or uneven bonding.
Common Installation Mistakes to Avoid
One of the most common mistakes in flooring installation is skipping the acclimation step. Failing to acclimate the planks can result in warping or buckling down the line. Another frequent error is laying the floor over an uneven subfloor, which can cause creaks and damage over time. Ensure that you take the necessary steps to level and clean the subfloor before starting.
Caring for Your Engineered Flooring
Once your floor is installed, maintaining it properly will keep it looking great for years to come. Regularly sweep or vacuum to remove dirt and debris that can scratch the surface. Use a damp mop for occasional cleaning, but avoid excessive water as it can damage the wood layers. Place protective pads under furniture legs to prevent dents and scratches.
Installing engineered flooring is a project that combines precision, patience, and a bit of craftsmanship. By following these detailed steps, you’ll achieve a beautiful, durable floor that adds value and style to your home. With the right tools and a systematic approach, your DIY installation can rival that of a professional.
For any further questions or to explore high-quality engineered flooring options, feel free to contact Wicklow Flooring today!
